 Pin it
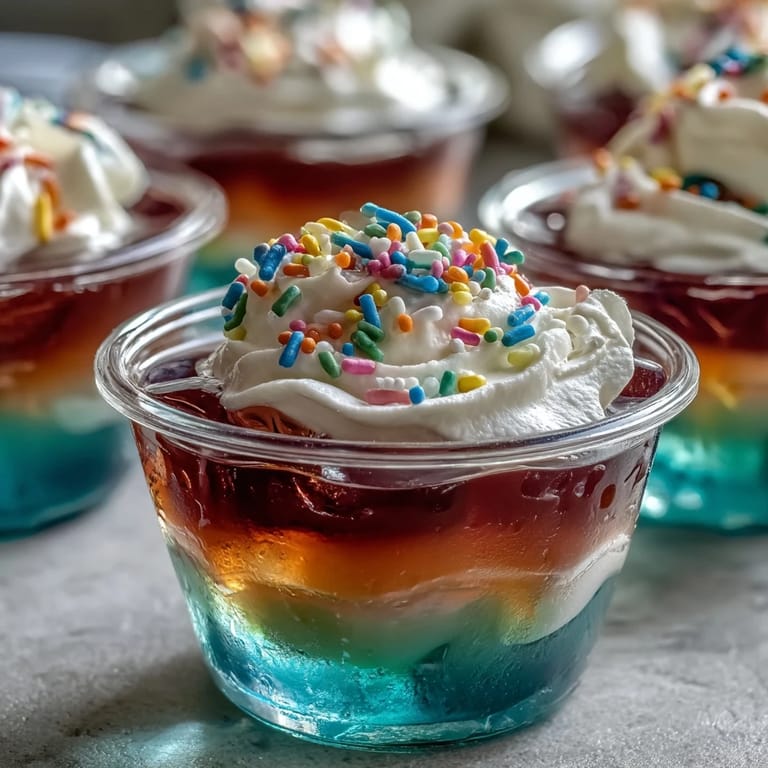
 The first time I made rainbow Jello cups, I didn't expect my kitchen to feel like an art studio. The array of brightly colored powders scattered across my countertop looked more like paint palettes than dessert ingredients. The anticipation built with each layer, as I watched the vibrant hues merge through the glass cups. My youngest child kept peeking into the fridge, counting down the minutes until the next Jello layer could be poured. There's something genuinely joyful about building edible rainbows one chilly layer at a time.
I remember preparing these rainbow cups for my niece's birthday. Her giggles echoed throughout the kitchen as she and her friends lined up, noses pressed against the refrigerator, watching the transformation from a simple clear cup to a striped masterpiece. The process became less about the recipe and more a shared experience — every pause for chilling a layer was a chance for questions, laughter, and impatient excitement.
Ingredients
- Strawberry (red) Jello: I use the classic for its vibrant color and reliability — dissolve well for a clear, true red layer.
- Orange Jello: This flavor pops visually and tastes bright, but make sure to stir until each grain vanishes to avoid cloudiness.
- Lemon (yellow) Jello: Its sunshine hue always cheers up the cups, but chill in smaller bowls to speed up setting if needed.
- Lime (green) Jello: The zesty green acts like a transition layer between warmer and cooler colors.
- Berry blue Jello: This bold blue stands out, and careful pouring ensures distinct layers without bleeding.
- Grape (purple) Jello: I start with purple for depth — setting the tone for the rainbow from the bottom up.
- Boiling water: Each flavor gets its own cup so layers are even and smooth; always measure precisely.
- Cold water: Cools the mixture and helps set the Jello right every time, preventing a rubbery texture.
- Whipped cream or whipped topping: Adds creamy contrast on top, and I learned to pipe gently for fluffy clouds.
- Rainbow sprinkles (optional): These finish the look — sprinkle lightly for smiles and sparkle.
Tired of Takeout? 🥡
Get 10 meals you can make faster than delivery arrives. Seriously.
One email. No spam. Unsubscribe anytime.
Instructions
- Mix the first layer:
- Start with grape Jello by stirring the powder into boiling water until not a single grain remains. Add cold water, then pour about two tablespoons into eight clear cups — you'll see the color shine right away.
- Set and repeat:
- Chill the cups for 30 to 40 minutes, taking moments to check if they're gently springy to the touch. Repeat the process for each color, always letting one set before pouring the next, and enjoy the transformation as your rainbow grows.
- Layer with care:
- Pouring the blue, green, yellow, orange, then red layers is a calming ritual — go slowly, and press the cups against the fridge glass so you can enjoy how the stripes sharpen.
- Topping time:
- Once chilled, scoop or pipe whipped cream onto each cup, creating little swirls of white. Crown with sprinkles for extra magic and a dash of fun.
- Serve and celebrate:
- Hand out chilled cups and let the rainbow reveal itself with the first spoonful. Watch faces light up — this treat is as much about the smile as the taste.
 Pin it
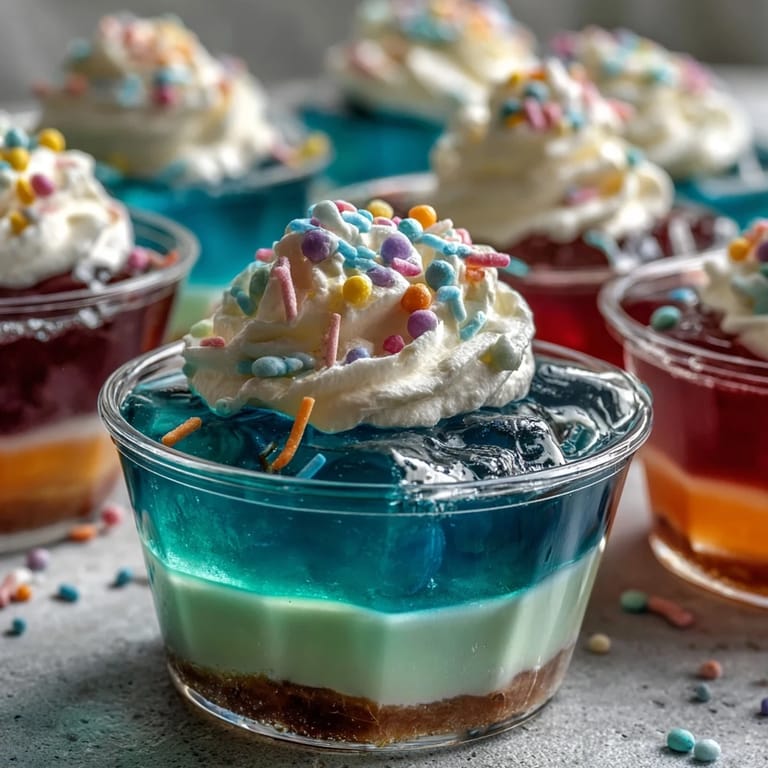
 There was a summer afternoon when a tray of rainbow Jello cups became the centerpiece of our backyard family picnic. The cups glistened in the sun like jewels, and seeing friends reach for them with childlike enthusiasm was a reminder that food can transform ordinary moments into celebration.
Making Perfect Layers Under Pressure
When prepping for a big group, I learned that using smaller bowls for each flavor makes the layering faster and less stressful. Sometimes, I'd set timers on my phone just to keep pace with chilling stages — less guessing, more fun.
Adjusting Flavors & Colors Your Way
Experimenting with different Jello flavors or omitting a color can tailor these cups to any occasion or preference. Sugar-free mixes work just as well, and skipping sprinkles still leaves a striking dessert.
Overcoming the Layer Bleed Struggle
The trickiest part was learning to resist pouring new Jello onto a not-quite-set layer — more patience, less mess. I've also found running a spoon gently along the cup edge can keep lines sharp.
- Always let each layer chill the full time before adding the next.
- Pour slowly and close to the cup's surface for precision.
- Let kids help with sprinkles, because even small hands can make these beautiful.
 Pin it
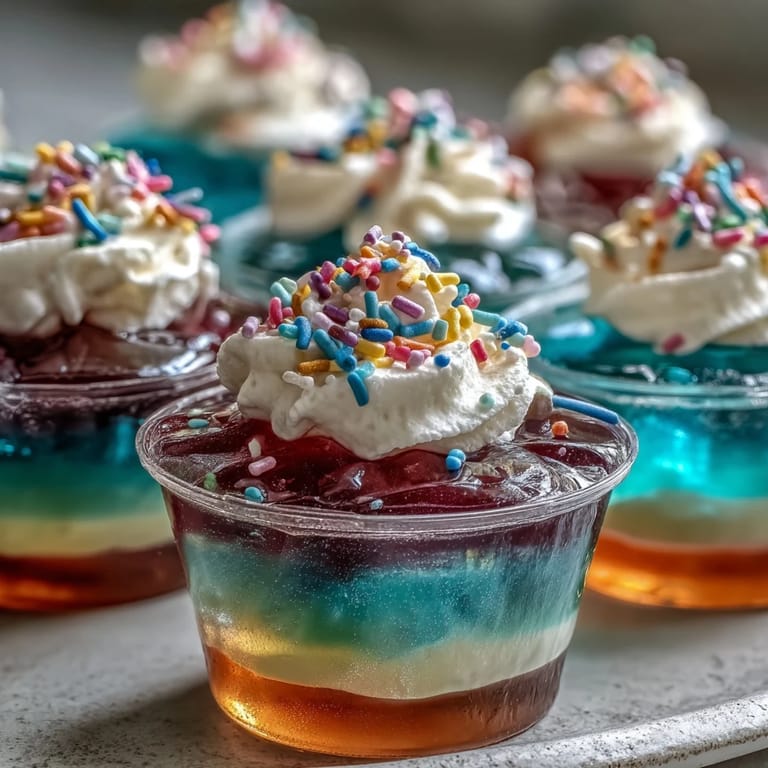
 Sharing these colorful cups always feels like giving away a little piece of happiness. I hope each layer invites smiles and brings a splash of magic to your next celebration.
Recipe FAQs
- → How can I achieve clean layered colors?
Chill each Jello layer fully before adding the next to ensure sharp separation and vibrant color lines.
- → Can I use other Jello flavors?
Yes, you can mix and match your favorite flavors or colors to create custom rainbow effects in each cup.
- → Is a dairy-free option available?
For dairy-free, substitute regular whipped cream with coconut whipped cream or a similar non-dairy topping.
- → Can I prepare these cups ahead of time?
Absolutely. Prepare the layered cups up to a day in advance and add whipped cream and sprinkles just before serving.
- → Are these cups suitable for vegetarians?
Yes, traditional Jello is vegetarian and the dessert can be enjoyed by those following a vegetarian diet.
- → How do I make a sugar-free version?
Simply use sugar-free Jello varieties and a sugar-free whipped cream for a lighter, lower-sugar treat.