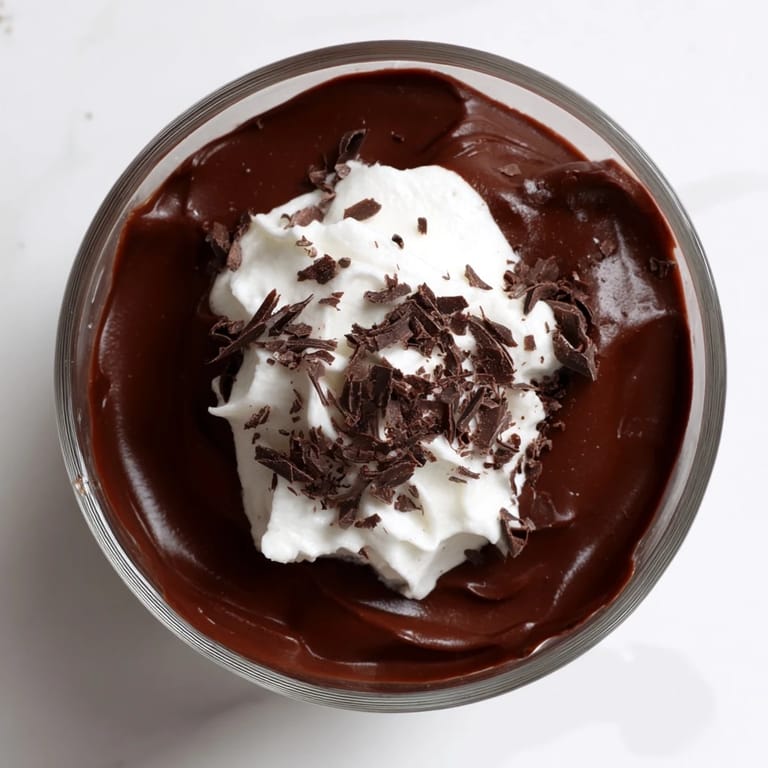
 Pin it
 My grandmother kept a small crystal bowl on her sideboard, always filled with something chocolate and silk. The first time I tried making pudding from scratch, I stood over that stove whisking until my arm actually ached, convinced I'd ruined it when the mixture turned grainy. Then suddenly, like magic, it transformed into this glossy, smooth masterpiece that made me understand why store-bought never compares.
Last winter, during that terrible ice storm that trapped us inside for three days, I made four batches of this pudding. We ate it by candlelight, wrapped in blankets, while the wind howled outside. Something about warm comfort food in a crystal glass makes even the darkest night feel cozy.
Ingredients
- Whole milk: The fat content is what gives pudding that luxurious mouthfeel that lingers beautifully
- Heavy cream: Dont skip this, its the secret to restaurant-style richness
- Unsalted butter: Adds a subtle depth that rounds out the chocolate intensity
- Granulated sugar: Just enough to balance the dark chocolate without becoming cloying
- Unsweetened cocoa powder: Use Dutch-processed if you can find it for that deep, smooth chocolate flavor
- Cornstarch: This is your thickening agent, sift it first to avoid any lumps
- Salt: A tiny pinch makes chocolate taste more chocolatey, its science
- Dark chocolate: Spend a little extra on good quality chocolate, 60-70% cocoa is the sweet spot
- Pure vanilla extract: The finishing touch that makes everything taste complete
Tired of Takeout? 🥡
Get 10 meals you can make faster than delivery arrives. Seriously.
One email. No spam. Unsubscribe anytime.
Instructions
- Whisk your dry foundation:
- In a medium saucepan, combine the sugar, cocoa powder, cornstarch, and salt, whisking until theyre completely blended and no dry pockets remain
- Create your base:
- Slowly pour in the milk and cream while whisking constantly, taking your time to dissolve every bit of the dry mixture until perfectly smooth
- Work the magic:
- Set the saucepan over medium heat and whisk without stopping for 5-7 minutes, watching patiently as it transforms from thin and milky to thick and glossy, with the first bubble telling you its ready
- Add the luxury:
- Remove from heat immediately, then add your chopped chocolate and butter, whisking gently until they melt into something impossibly smooth and shiny
- Finish with finesse:
- Stir in the vanilla extract, then pour into individual serving glasses, pressing plastic wrap directly onto the surface to prevent that dreaded pudding skin
- Practice patience:
- Refrigerate for at least 2 hours until set, then top with whipped cream, chocolate shavings, or fresh berries before serving
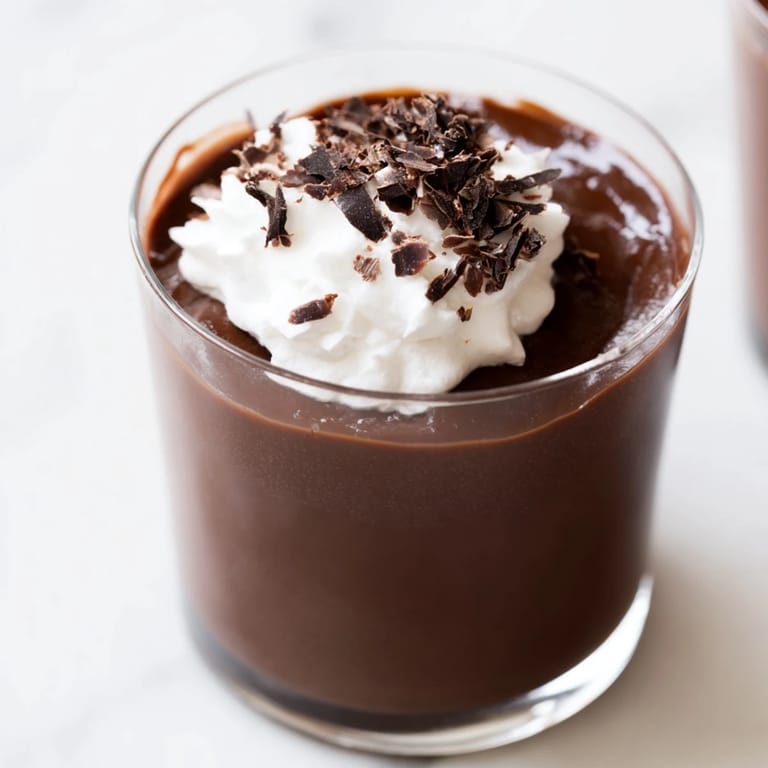 Pin it
 My daughter requested this for her eighth birthday instead of cake, and honestly, I get it. Theres something so sophisticated about individual chocolate puddings that make you feel like youre dining in a fancy French bistro, even in your pajamas.
Make It Your Own
Ive learned that a pinch of espresso powder mixed into the dry ingredients makes the chocolate sing without tasting like coffee. A tablespoon of your favorite liqueur added with the vanilla creates the most elegant dinner party dessert. The recipe forgives experimentation beautifully.
Serving Suggestions
The contrast of cold pudding against something warm creates this incredible experience. Try serving it with warm raspberry coulis or hot fudge sauce. A dollop of barely sweetened whipped cream and a few shavings of the same chocolate you used in the pudding makes it look like it came from a patisserie window.
Storage And Timing
This pudding actually improves after 24 hours in the refrigerator, giving the flavors time to deepen and meld. You can make it up to three days ahead, which makes it the ultimate dinner party weapon.
- Let it sit at room temperature for 10 minutes before serving for the ideal texture
- Individual ramekins prevent anyone from fighting over who got the bigger serving
- Never freeze pudding, the texture separates into something unpleasant
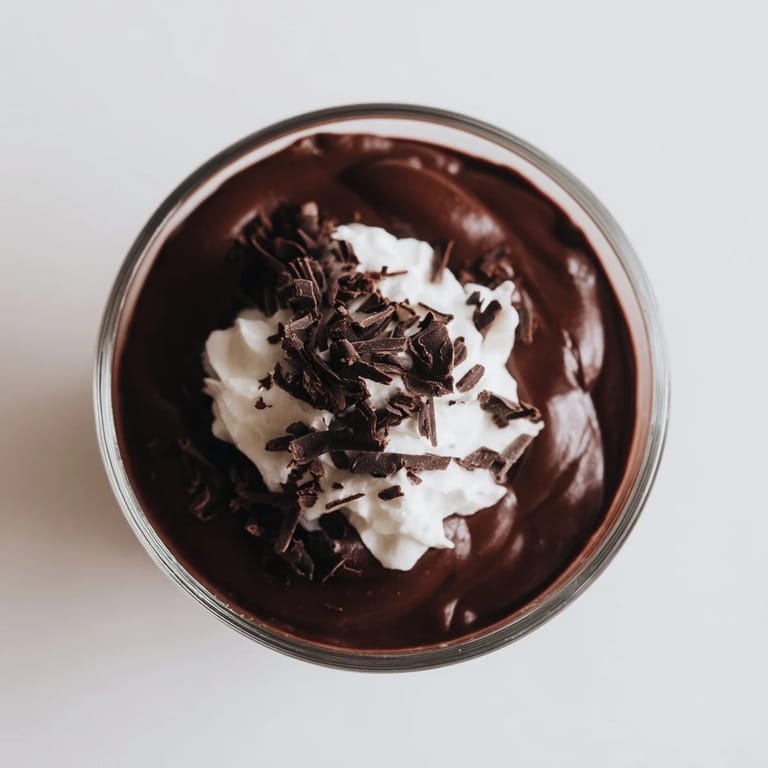 Pin it
 Some nights, when the house is finally quiet, I stand at the counter eating the leftover bits straight from the pot. Those are the moments when I remember why I fell in love with cooking in the first place.
Recipe FAQs
- → How long does the pudding need to chill?
Refrigerate for at least 2 hours until completely set. The pudding will firm up gradually and reach optimal texture after 2-4 hours. It can be made up to 24 hours in advance and kept covered in the refrigerator.
- → Can I use milk chocolate instead of dark?
Yes, though the final flavor will be much sweeter and less intense. Reduce the sugar by 1-2 tablespoons if substituting milk chocolate. The setting time and texture remain consistent regardless of chocolate type.
- → Why press plastic wrap directly on the surface?
This technique prevents a skin from forming as the pudding cools. Direct contact creates a seal that keeps moisture in and ensures the top remains perfectly smooth and creamy, matching the texture throughout.
- → What causes lumpy pudding?
Lumps typically form when cornstarch clumps aren't fully dissolved before heating, or when the mixture isn't whisked frequently enough during cooking. Always whisk dry ingredients thoroughly before adding liquid, and maintain constant whisking once heat is applied.
- → Can I make this dairy-free?
Absolutely. Substitute whole milk and heavy cream with your preferred plant-based alternatives like coconut milk, almond milk, or oat milk. Use dairy-free dark chocolate and vegan butter to maintain the same creamy consistency.